Clay Court Construction: The Ultimate Guide
Building a clay tennis court is an exciting project that can transform your property into a space for fun, exercise, and competitive play. Understanding the process is key to success, whether creating a court for personal use or a professional venue. This guide will walk you through everything from the basics of clay courts to step-by-step construction and maintenance tips.
What Is a Clay Tennis Court?
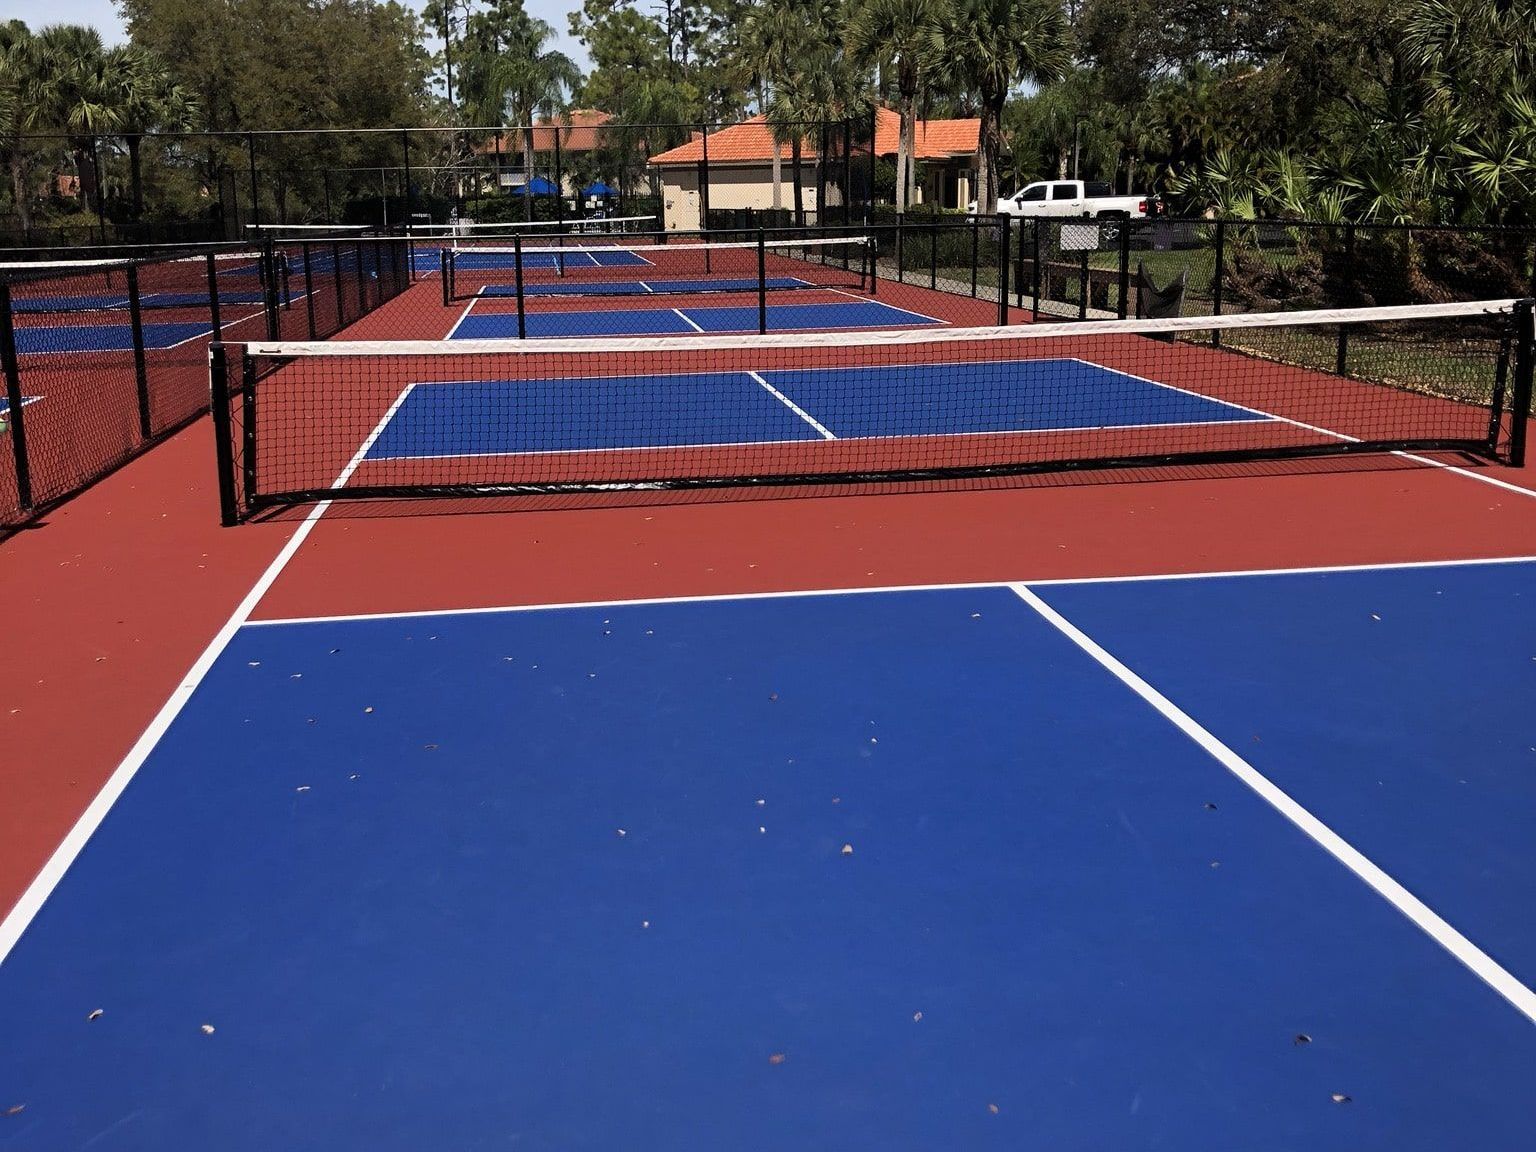
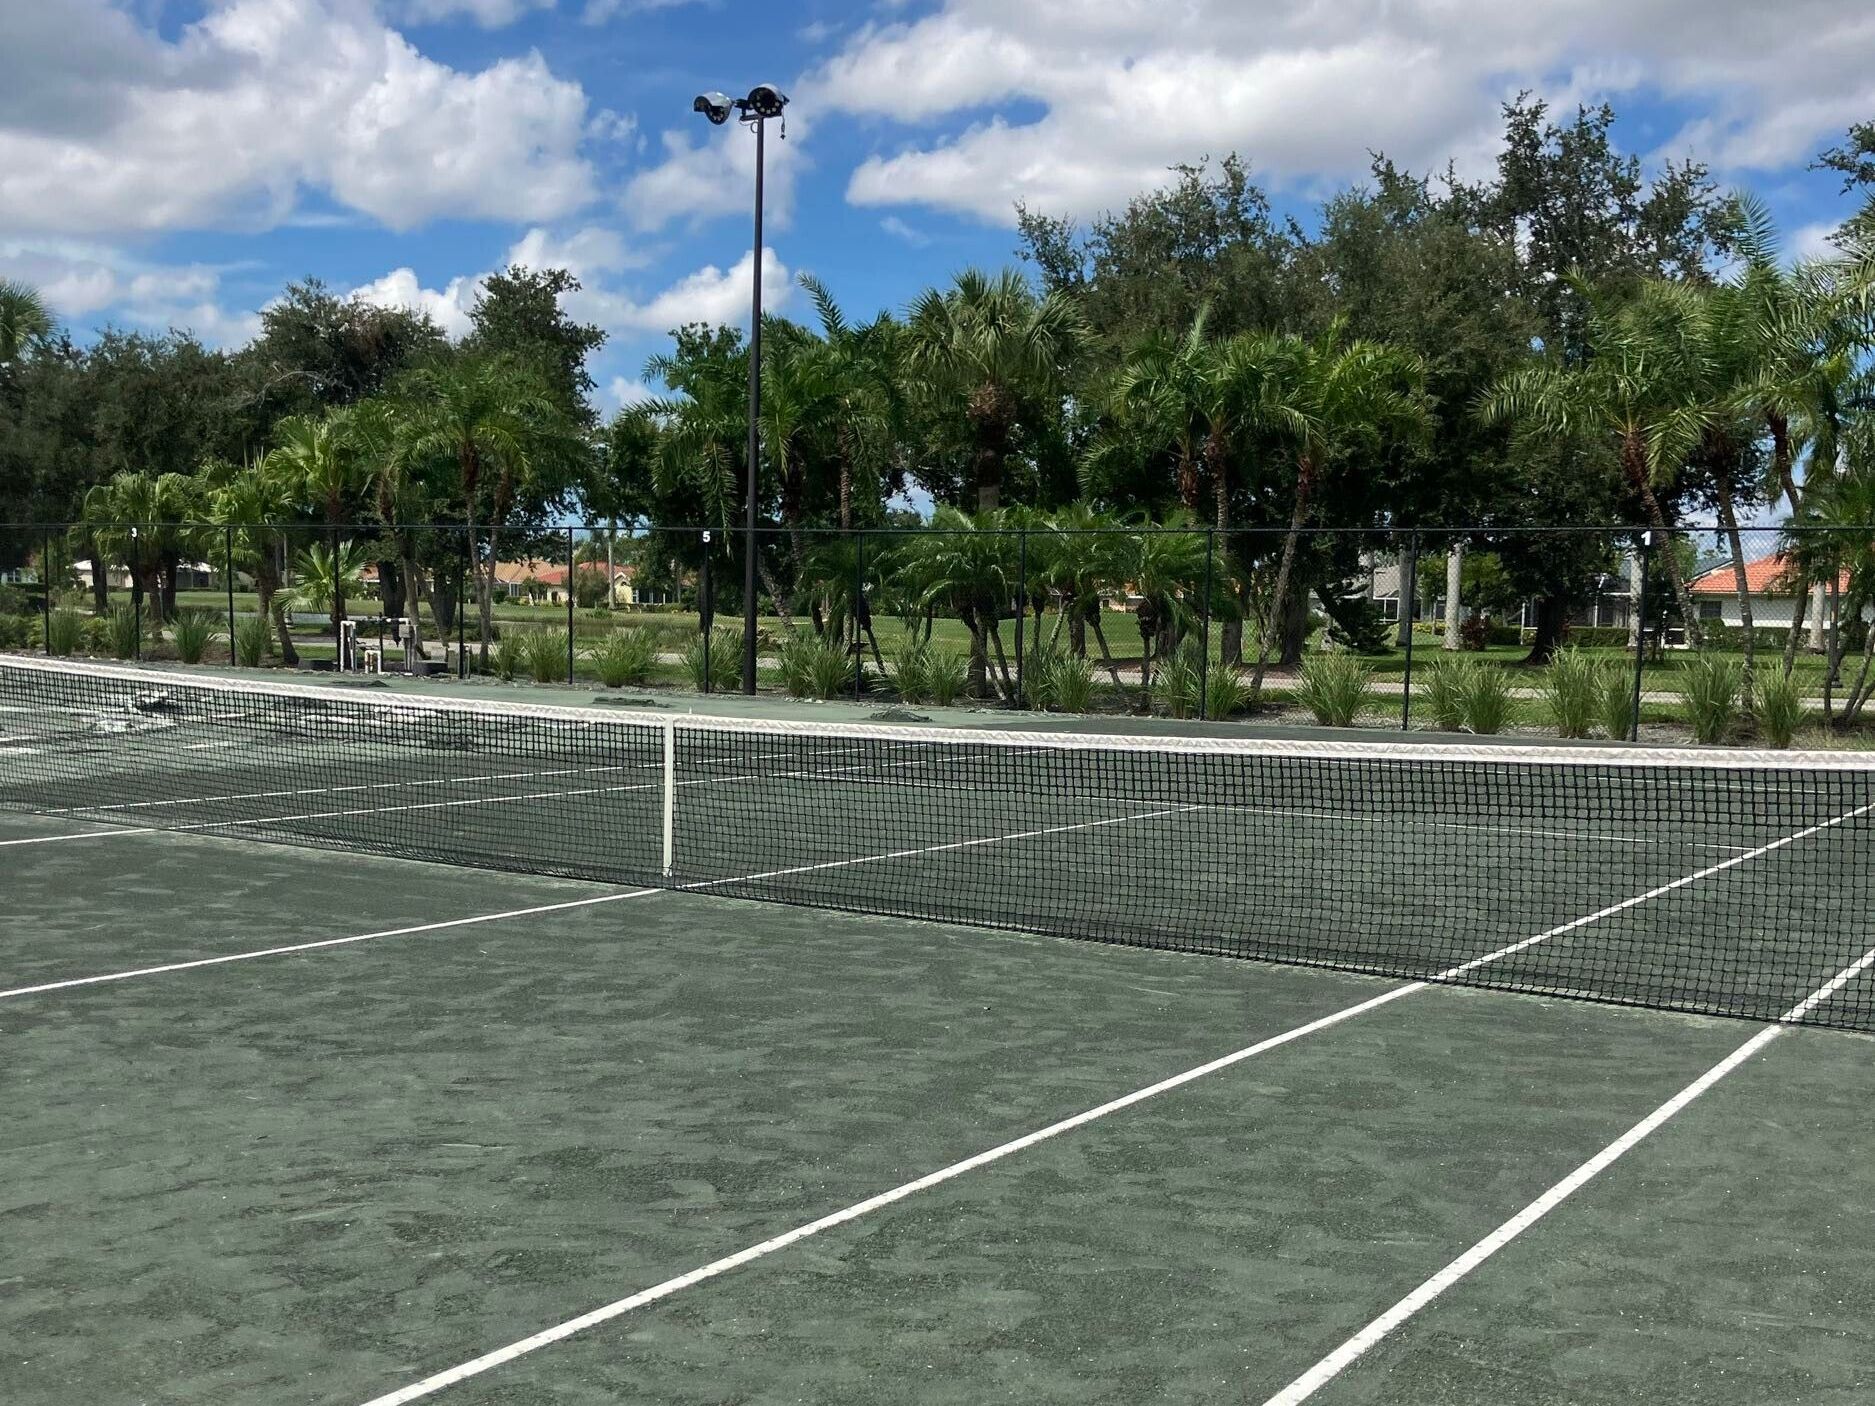
Clay tennis courts are among the sport's most iconic and beloved playing surfaces. Known for their striking red or green hues and unique characteristics, clay courts are a favorite for players who enjoy a slower-paced, strategic game.
Constructed using layers of crushed brick, stone, or shale, clay courts provide a smooth yet slightly gritty surface. This type of court is softer and more forgiving than hard courts, reducing the physical toll on players and making it a preferred choice for those prioritizing longevity in the sport.
Types of Clay Courts
Clay courts come in two main types:
- Red Clay: Common in Europe and South America, red clay courts are made from crushed brick. They offer slower ball speeds and higher bounce, which is ideal for strategic play.
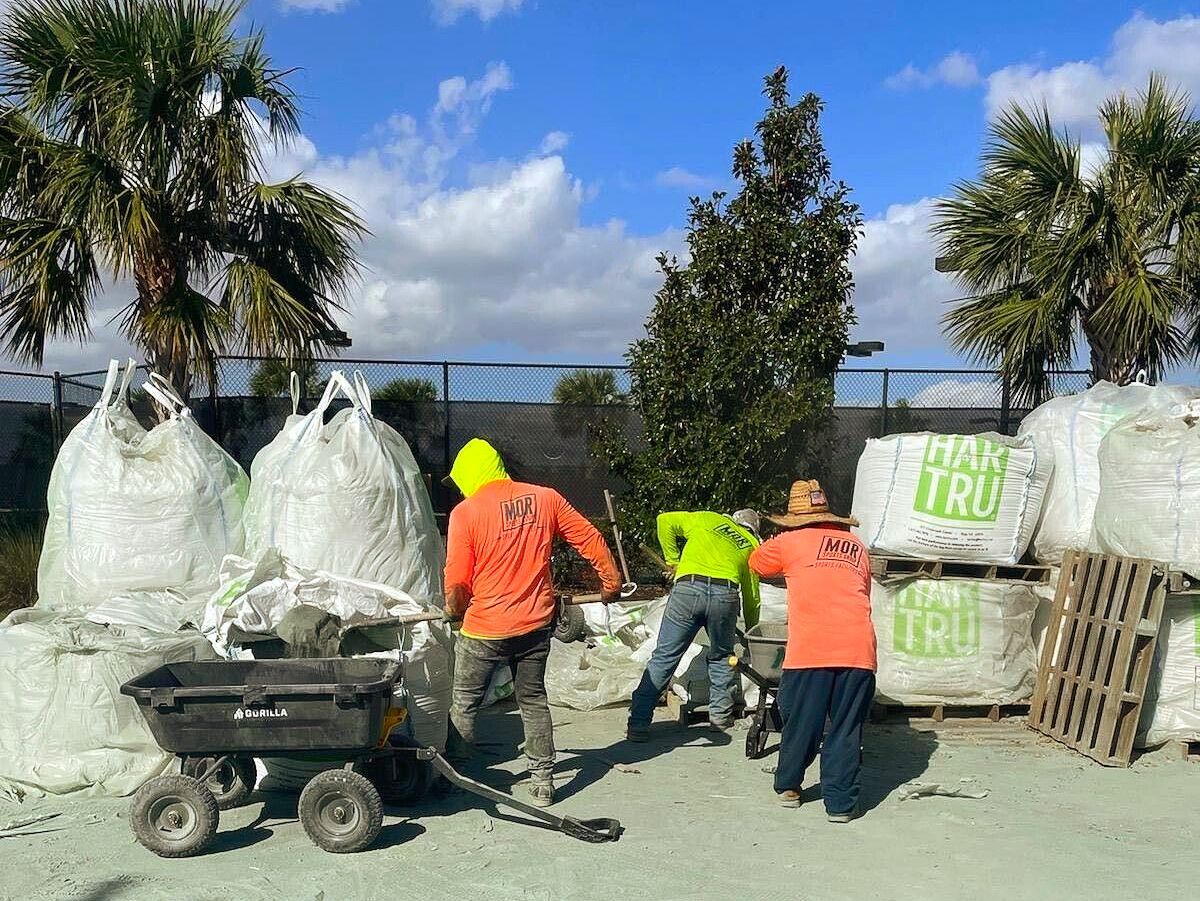
- Green Clay: Known as Har-Tru, these courts are popular in North America. They are slightly more complicated and faster and drain water more effectively, making them suitable for areas with frequent rainfall.
Key Features of Clay Courts
Clay courts are unique in their design and play characteristics, offering an experience that distinguishes them from other court surfaces like grass or hard courts.
- High bounce, which slows the game and encourages strategic rallies.
- Softer surface, reducing the impact on players’ joints.
- Distinctive reddish or greenish color, depending on the materials used.
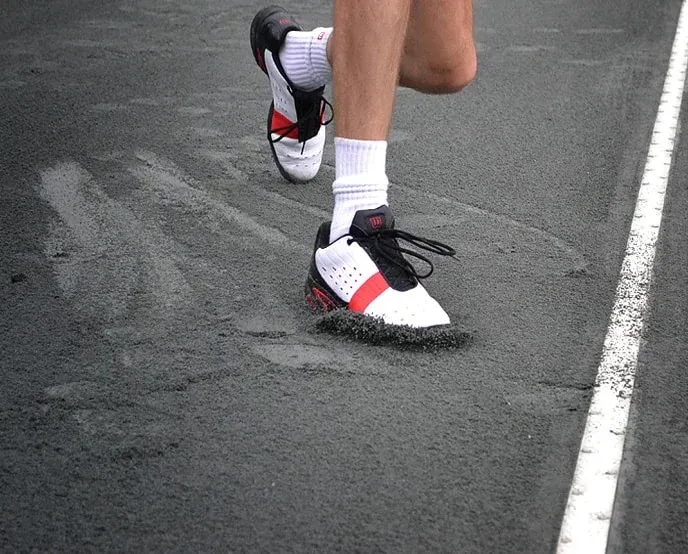
- Ability to slide, helping players reach tricky shots while reducing abrupt stops.
Benefits of Clay Tennis Courts for Players
The unique features of clay courts translate into several benefits for players, enhancing both their physical skills and overall experience on the court.
Encourages endurance and stamina due to longer rallies.
- Improves footwork and movement precision.
- It provides a slower game, allowing more time to react to opponents’ shots.
- It reduces the risk of joint injuries, making it ideal for players of all ages.
Preparing for Clay Court Construction
Building a clay tennis court is an exciting but intricate project. Before you dive into construction, careful preparation is key to achieving a high-quality outcome. Laying a strong foundation ensures the court is not only durable but also enjoyable for players of all skill levels. From site selection to materials, attention to detail can save you time and money in the long run.
Choosing the Right Location
The site you choose for your clay court plays a significant role in its longevity and functionality. It’s essential to find a location that meets both the practical and environmental needs of the project. A well-chosen site minimizes maintenance challenges and maximizes the court's usability.
When evaluating potential locations, prioritize level ground and stable soil to reduce the amount of preparatory work required. Look for natural drainage patterns to avoid standing water that can erode the clay court’s surface over time. You can also consider external factors like wind direction and sun exposure. North-south alignment is ideal for limiting sun glare during play, creating a more enjoyable experience for players.
Marking Court Dimensions and Boundaries
Marking the court’s dimensions is a vital step that lays the groundwork for precise construction. Ensuring accurate measurements not only helps with regulatory compliance but also guarantees a professional playing experience. Taking the time to set clear boundaries prevents issues later during the building process. Standard tennis court dimensions are:
- Singles: 78 feet long by 27 feet wide.
- Doubles: Same length, but 36 feet wide.
Add extra space around the court for fencing, pathways, and seating. Use stakes, ropes, or chalk to outline the boundaries.
Tools and Materials Needed
Properly equipping yourself with the necessary tools and materials will streamline your clay court construction process and ensure a professional finish. Each tool and material plays a vital role in creating a durable, high-performing court that meets professional standards. Below is a detailed breakdown of what you’ll need to get started.
Essential Tools
These are the core tools required to prepare and construct your clay court efficiently. Without them, achieving a precise and professional result would be difficult.
- Shovels: Used for excavation, leveling, and shaping the base to create a stable foundation. Choose durable, ergonomic shovels for efficiency and comfort during long tasks.
- Compactors: Essential for stabilizing the base layers and preventing future settling. A well-compacted foundation ensures the clay surface remains even and resistant to movement over time.
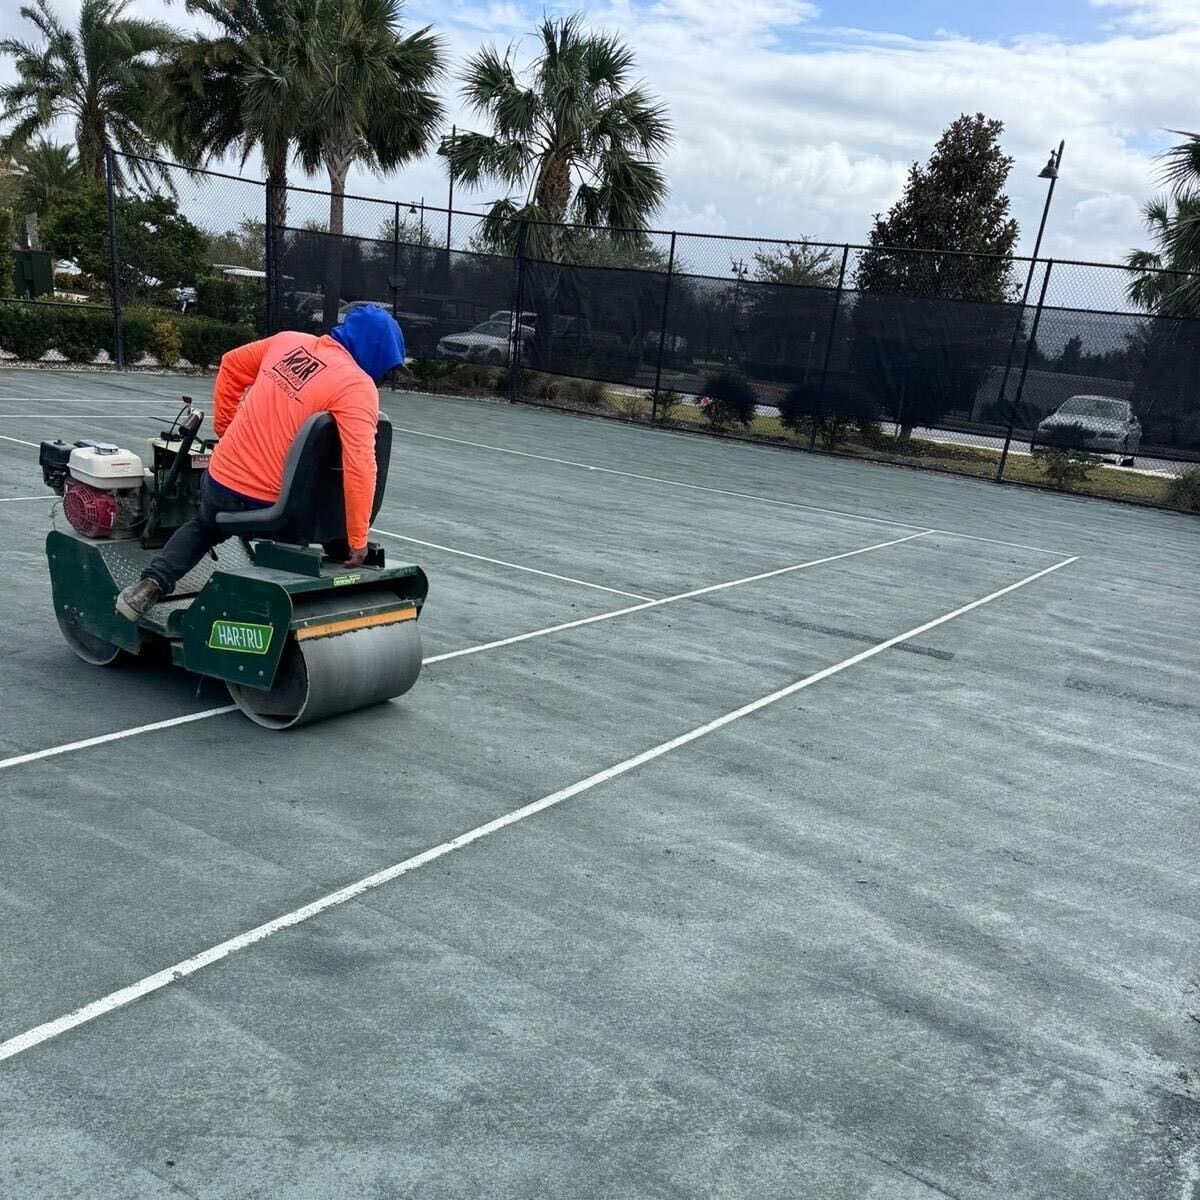
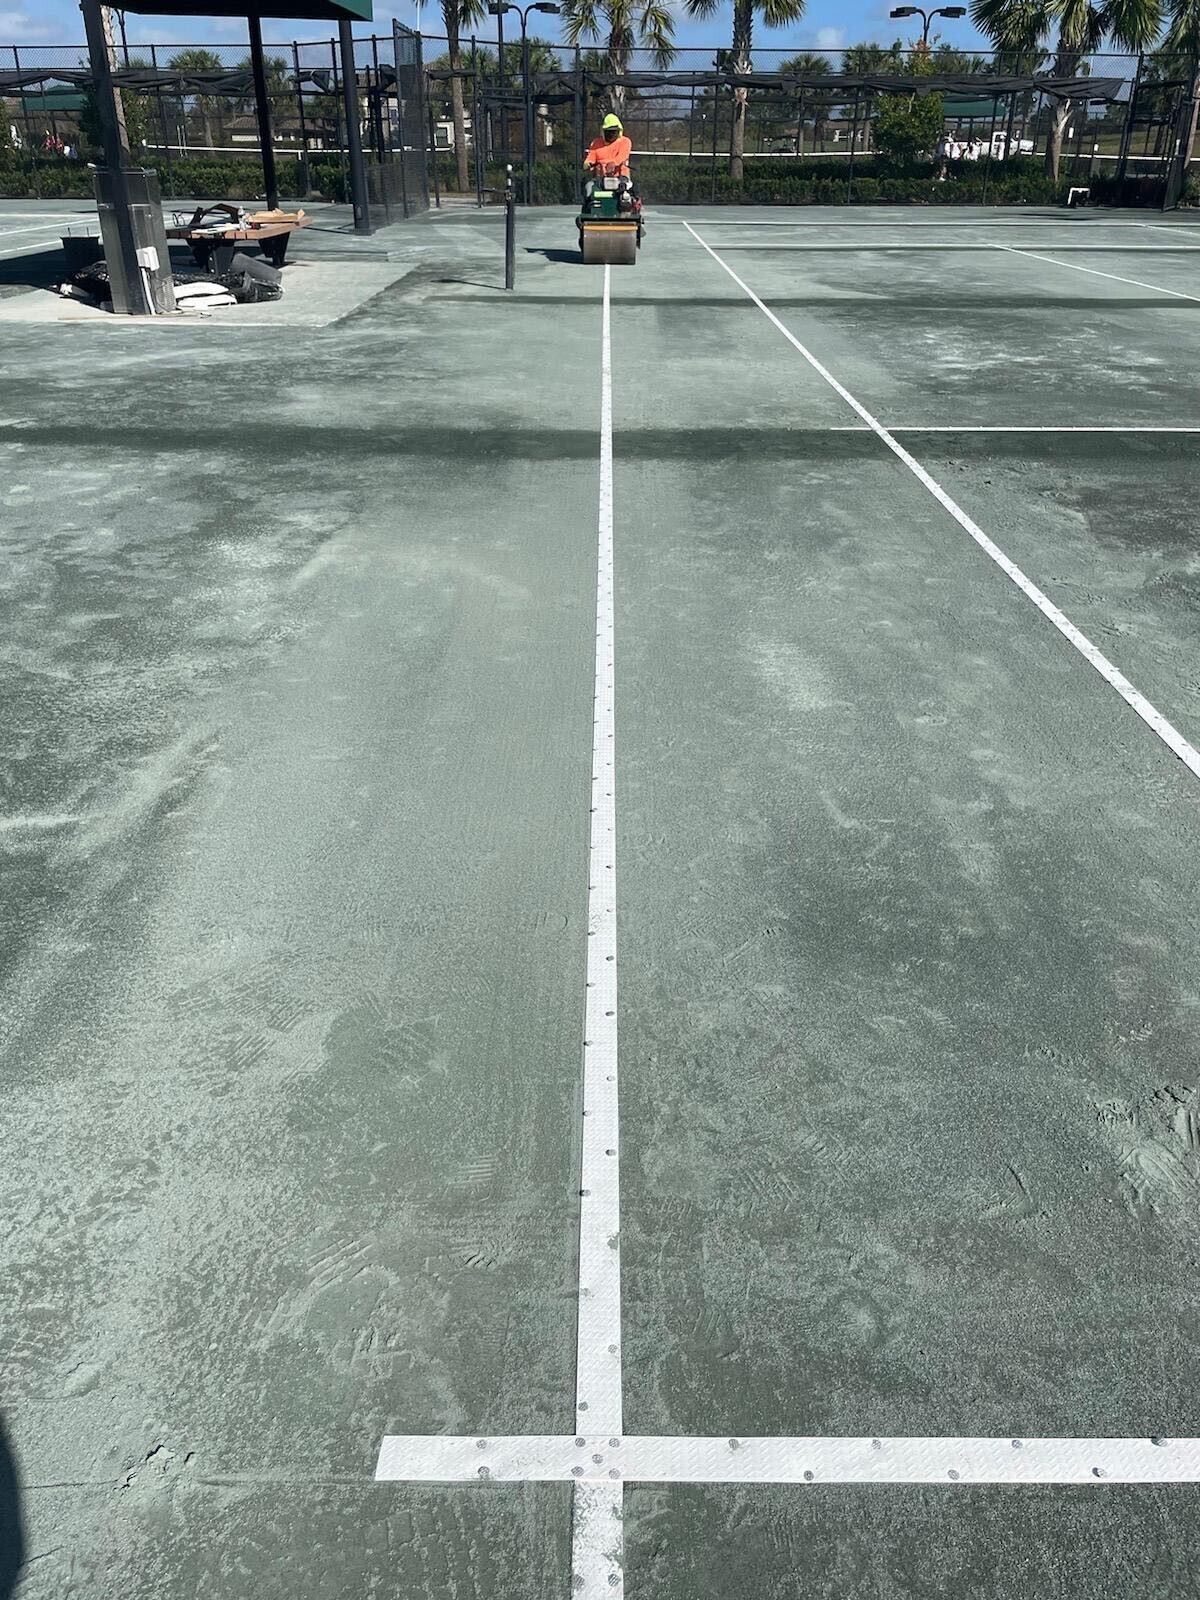
- Rollers: Help achieve a smooth and even playing surface by compressing both the base and clay layers. Investing in a heavy-duty roller ensures better compaction and surface uniformity.
- Levels: Critical for grading and aligning the court to prevent uneven surfaces and drainage issues. Use long levels for accuracy across larger areas.
Base Materials
The materials you choose for the base directly affect the court's durability, drainage, and overall performance.
- Crushed Stone, Brick, or Shale: These materials form the foundation layer, providing stability and allowing water to drain efficiently. Select high-quality, uniformly sized materials to avoid weak spots.
- Clay Surface Material: Opt for premium clay specifically designed for tennis courts. This ensures durability, optimal bounce, and consistent playability throughout the year.
Optional Additions
These elements enhance the functionality, safety, and professionalism of your court. While not essential, they can greatly improve the playing experience.
- Fencing: Enclosing the court with fencing prevents balls from straying, adds safety, and keeps the surface free from external debris. Choose durable materials like chain-link fencing for long-lasting protection.
- Posts and Nets: Regulation-quality posts and nets are essential for transforming your court into a playable space. Look for adjustable nets to maintain proper tension during play.
- Court Line Marking Kits: A good marking kit simplifies the process of defining play areas, ensuring accuracy and compliance with official dimensions. This is especially important for competitive or training courts.
Step-by-Step Guide to Building a Clay Court
Building a clay tennis court is a meticulous process, but following the correct steps ensures your court remains functional and enjoyable for years to come. Here’s a comprehensive guide to creating a clay tennis court that lasts for years.
Conducting a Site Analysis
Before starting construction, a thorough site analysis is essential to determine whether the location is suitable for a clay tennis court. This step ensures that potential challenges are addressed early.
- Soil Testing: Conduct a soil analysis to evaluate stability and drainage capacity. Clay courts require stable ground to prevent shifting or settling over time. If the soil is too soft, reinforcements like geotextile fabric may be needed to create a more stable base.
- Environmental Assessment: Consider factors like wind direction and sun exposure. North-south orientation minimizes sun glare while avoiding heavily shaded areas, which reduces the risk of moss or algae growth.
- Compliance and Permits: Investigate local regulations, zoning laws, and permit requirements. Many municipalities require permits for large-scale construction projects, including tennis courts. Consulting with local authorities can help streamline the process.
Designing the Court Layout
A well-designed court layout is key to functionality and longevity. During this stage, finalize details such as dimensions, alignment, and additional features.
- Court Orientation: Plan for a north-south alignment to minimize sun interference during play. This orientation ensures the court is usable throughout the day, even in direct sunlight.
- Drainage Design: Include perimeter drainage channels and subsurface drainage systems in your design to prevent water pooling and surface damage.
- Extra Features: Allocate space for additional elements like pathways, spectator seating, and shaded areas. Proper planning at this stage prevents overcrowding or inefficient use of space later.
Excavating and Clearing the Area
The site preparation is the foundation of the entire project. The court’s performance and longevity could suffer without a stable and level starting point.
- Clearing the Site: Remove all vegetation, debris, and topsoil from the area. This process creates a clean surface for excavation. For large sites, consider using heavy machinery like excavators.
- Excavating to Depth: Dig down to a depth of 6-8 inches to accommodate the base and clay layers. Maintain a slight slope of 1-2% to direct water away from the court and prevent pooling.
- Marking Boundaries: Use stakes, ropes, and chalk to outline the exact dimensions of the court, including space for additional features like fencing and pathways.
Installing the Sub-Base
The sub-base is a critical layer in clay court construction, providing both stability and effective drainage. This foundation is especially important in areas with challenging soil conditions or high water tables, where the risk of shifting or water retention is greater. The ideal materials for constructing the sub-base include crushed stone, gravel, or coarse sand, chosen for their porosity and strength. These materials allow water to flow through easily, preventing pooling while supporting the layers above.
Once the material is selected, a 2-4 inch layer is applied evenly across the excavated area. A grader can be used to ensure uniform distribution, avoiding uneven spots that could compromise the base's performance. After spreading the sub-base, it must be compacted thoroughly using a heavy roller. Proper compaction is essential to creating a firm, level surface that reduces the risk of settling and enhances drainage efficiency. The sub-base provides a reliable foundation for the court's construction by taking these steps, setting the stage for a durable and high-performing surface.
Laying the Base Layers
The base layers are responsible for supporting the clay surface and maintaining its structural integrity.
- Layering Crushed Stone or Shale: Spread a 4-6 inch layer of crushed stone or shale evenly over the compacted sub-base. This material promotes drainage while creating a sturdy foundation.
- Compacting for Stability: Compact the base using a heavy roller. This step is crucial for preventing uneven settling and ensuring a smooth clay surface. Roll multiple times to achieve optimal compaction.
- Optional Geotextile Fabric: If the soil is particularly soft or prone to water retention, lay a geotextile fabric between the base and clay layers. This fabric acts as a barrier, preventing the clay from mixing with the base material and compromising the surface.
Installing Drainage Systems
Proper drainage is essential for clay court durability, especially in areas with high rainfall. Perimeter drainage channels should be installed to direct water away efficiently, connecting to stormwater systems. Subsurface perforated pipes beneath the base handle excess water, with gravel layers preventing clogs. Grading the surface with a slight slope ensures water flows toward the drainage channels, preserving the clay's integrity and minimizing pooling.
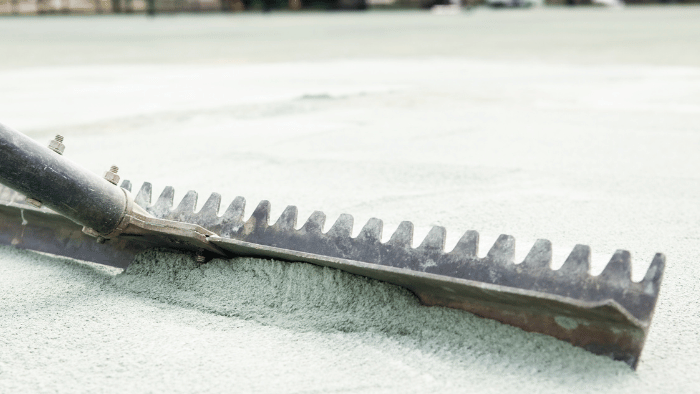
Adding and Compacting the Clay Surface
The clay surface defines the court’s playability and appearance, making this stage a centerpiece of the construction process.
- Applying the First Layer: Spread a 2-3 inch layer of crushed clay evenly across the compacted base. Use shovels, rakes, and graders to distribute the material uniformly.
- Compacting the Clay: Roll the first layer with a heavy roller to create a stable surface. Compress multiple times to eliminate air pockets and ensure evenness.
- Adding the Final Layer: Apply a 1-2 inch layer of finer clay to create a smooth, professional-grade surface. Compact this layer thoroughly for a flawless finish.
- Watering and Settling: Lightly mist the clay surface to help it settle and bond. Maintaining the right moisture level is essential to prevent cracking and erosion.
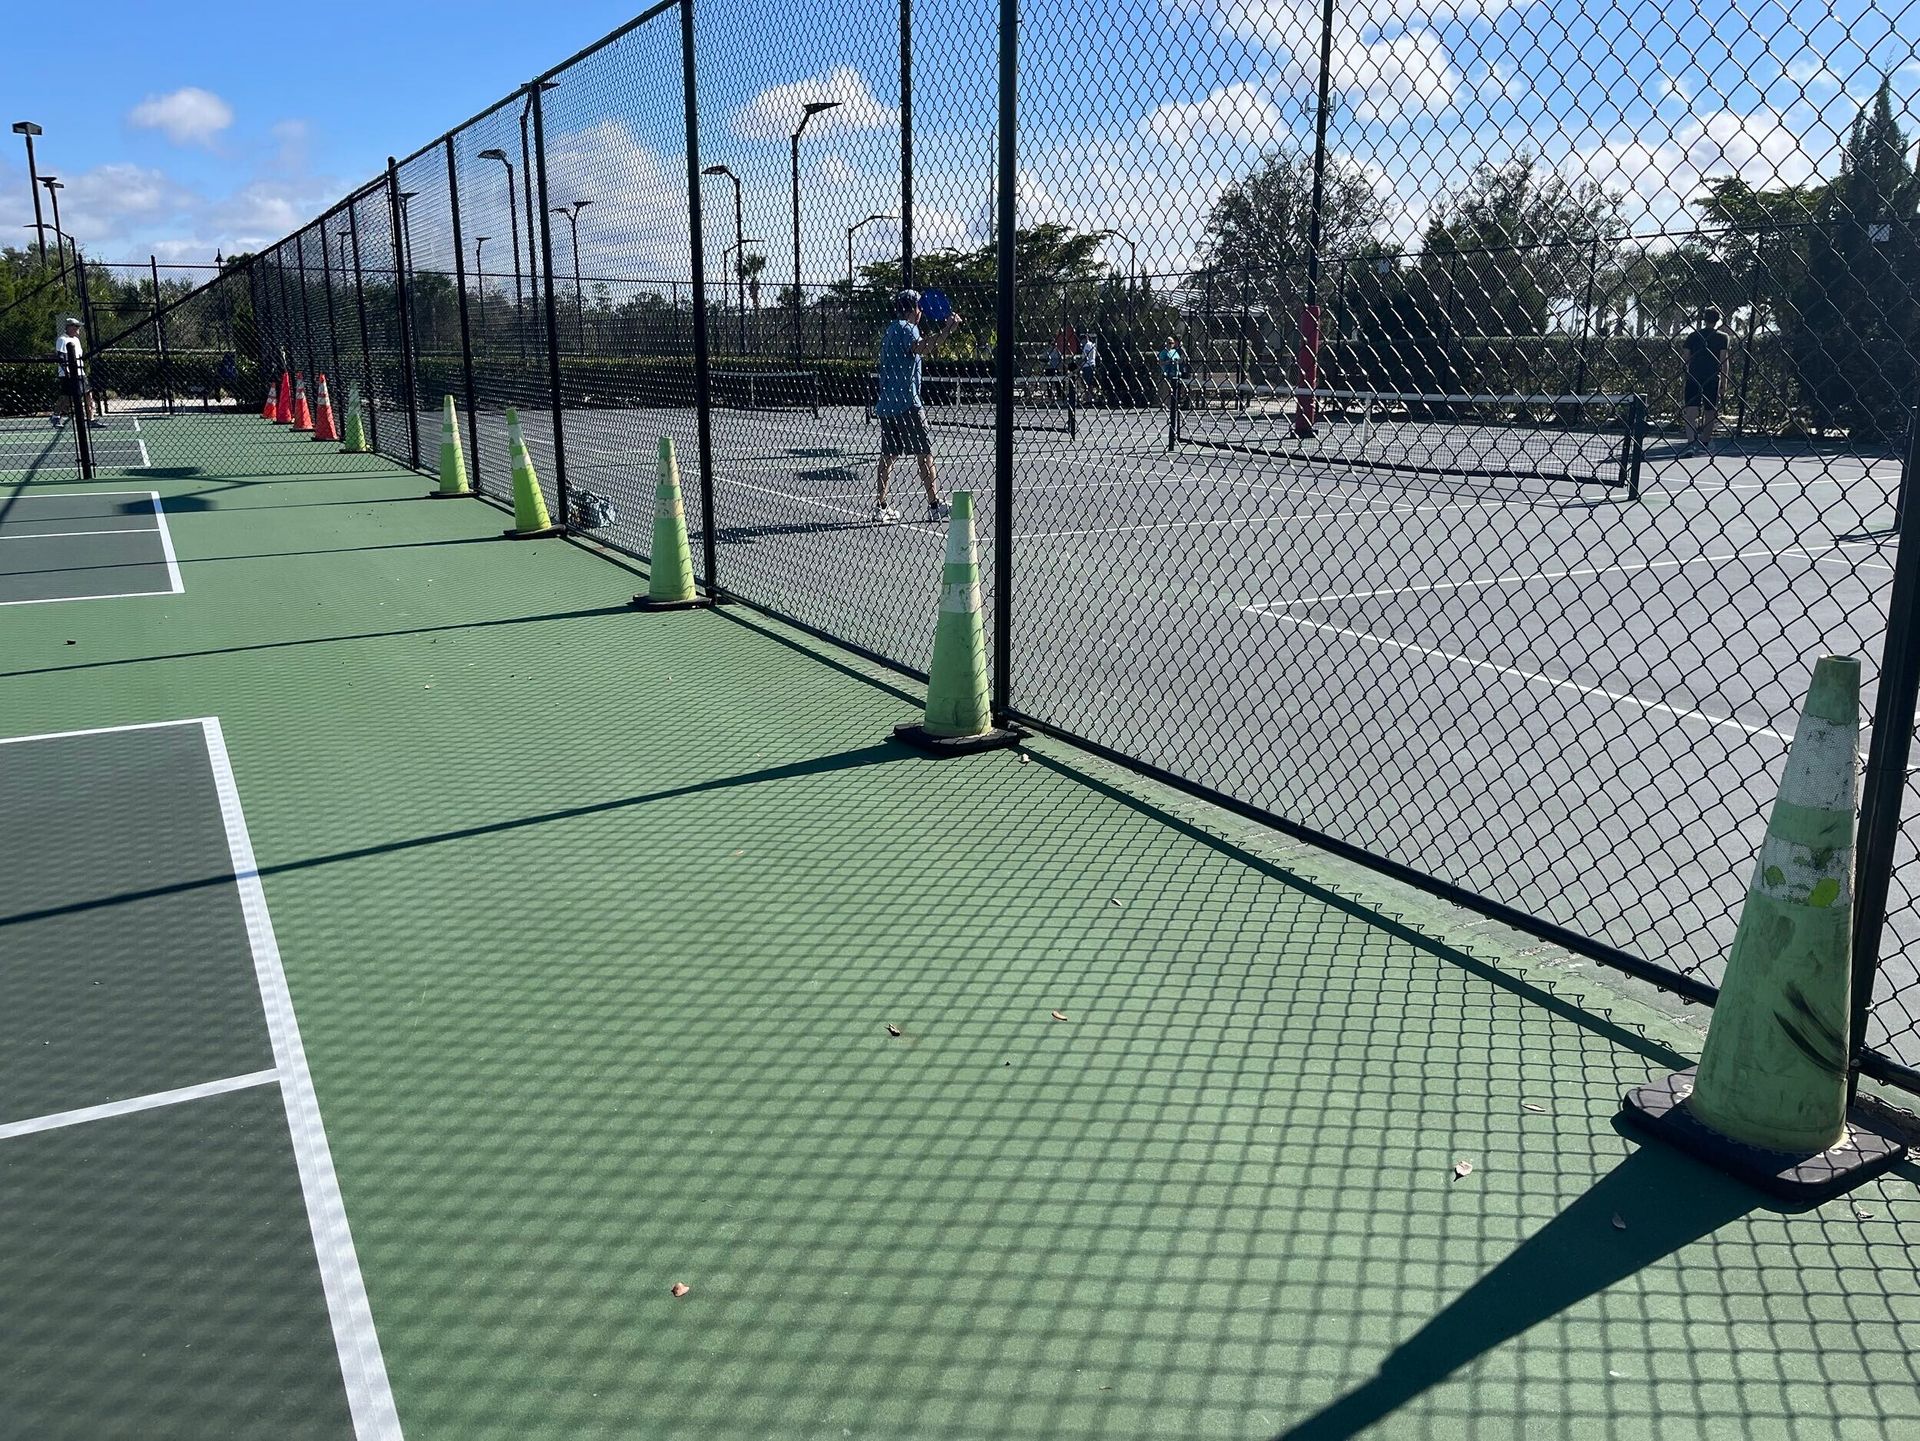
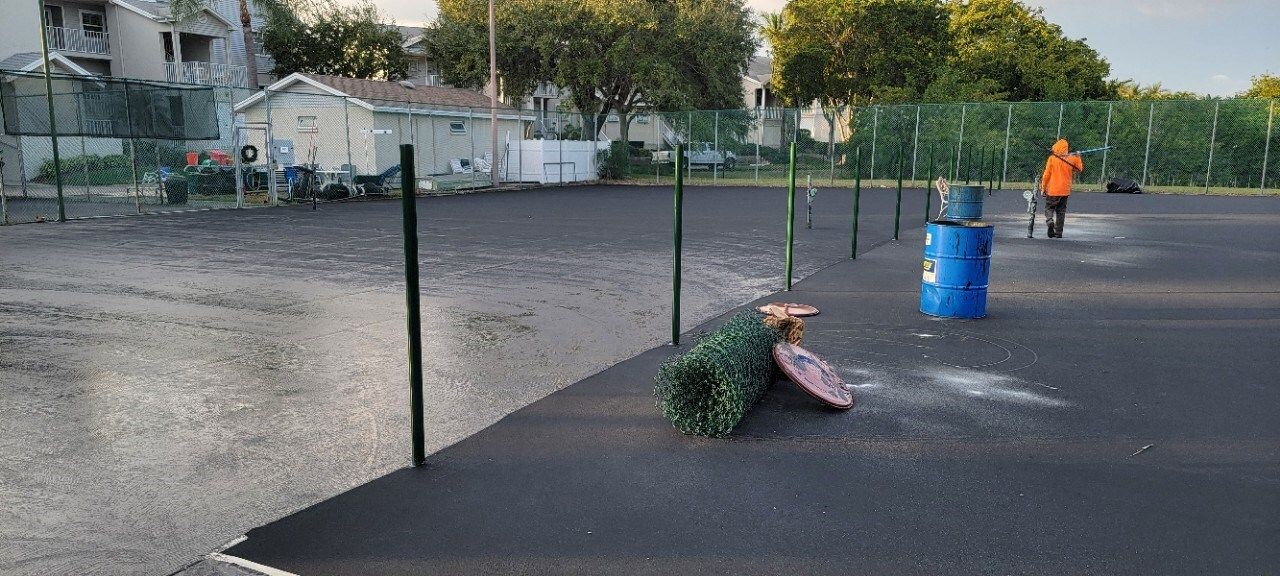
Installing Fencing and Net Posts
Fencing and net posts are crucial for creating a functional tennis court. Install 10-12 feet high chain-link fencing around the perimeter to enhance safety and contain balls. Securely anchor the net posts at the centerline, ensuring proper alignment and regulation height. These elements complete the court, providing a safe and professional setup for optimal playability.
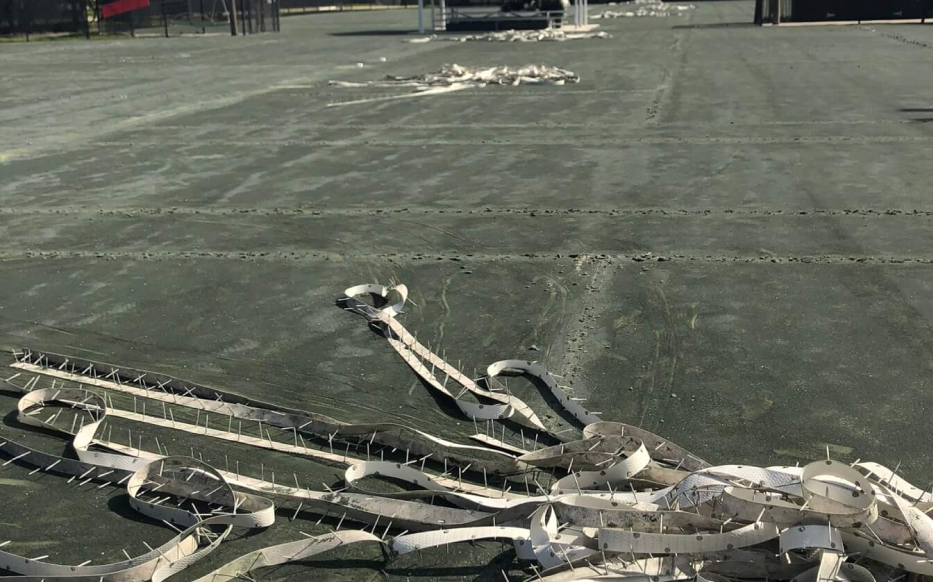
Marking the Court Boundaries
Clear and accurate markings are essential for ensuring gameplay quality and compliance with official regulations. Begin by preparing the surface; sweep and smooth the clay to remove any debris or irregularities that could interfere with marking. Using a line marking kit, apply white marking fluid or chalk to delineate the court boundaries.
To extend the longevity of these lines, consider sealing them with a protective coating, particularly for courts subject to heavy use or exposure to harsh weather. Ensure that the markings for singles and doubles lines are precise and align with official dimensions to provide a professional-grade playing experience.
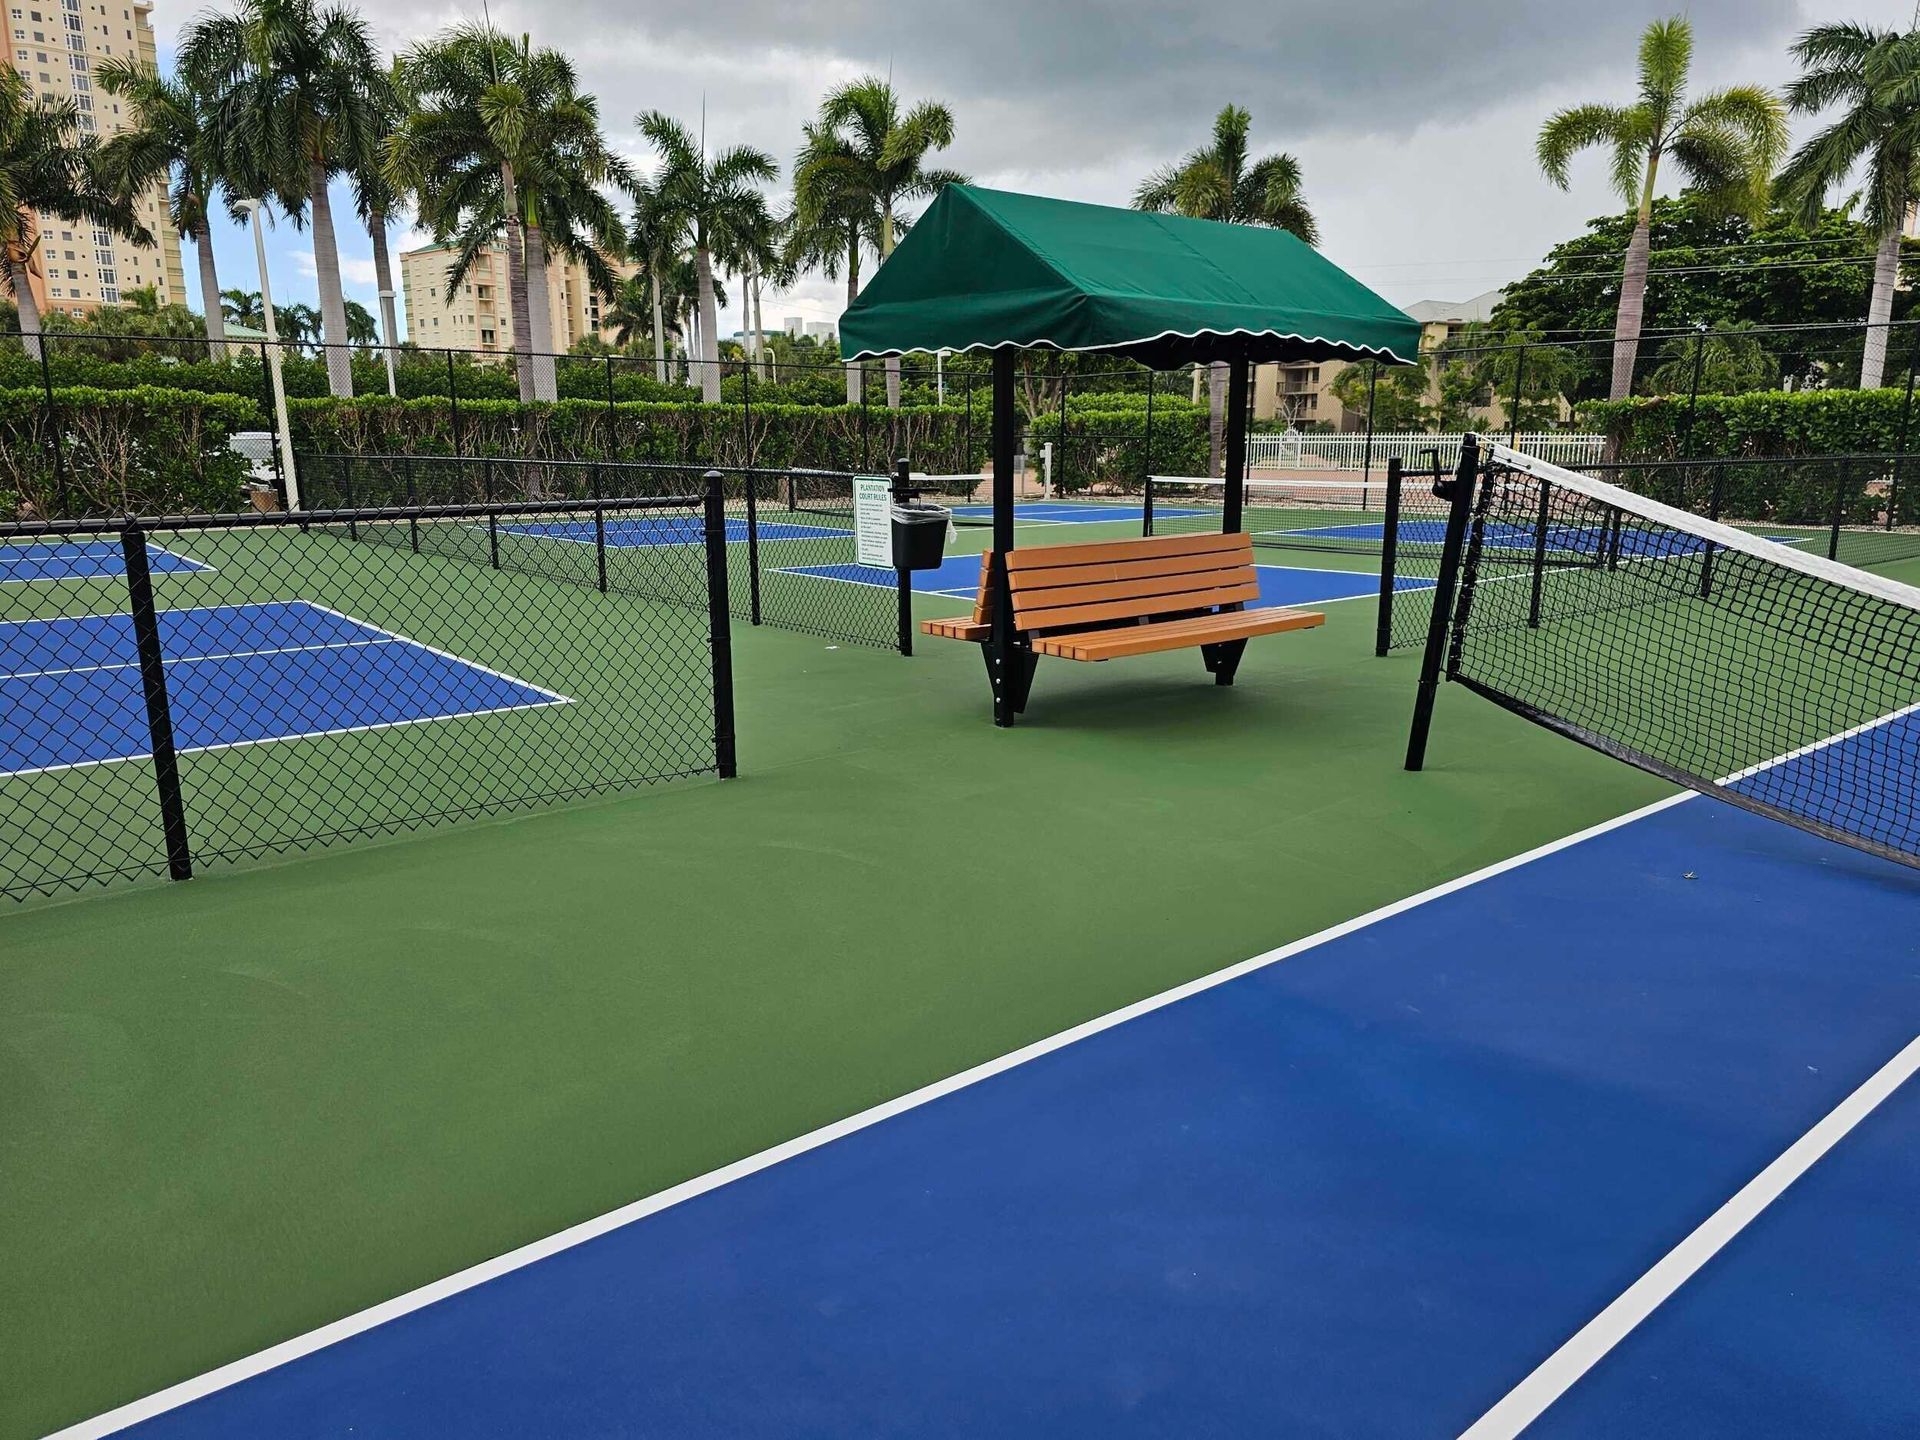
Adding Optional Features
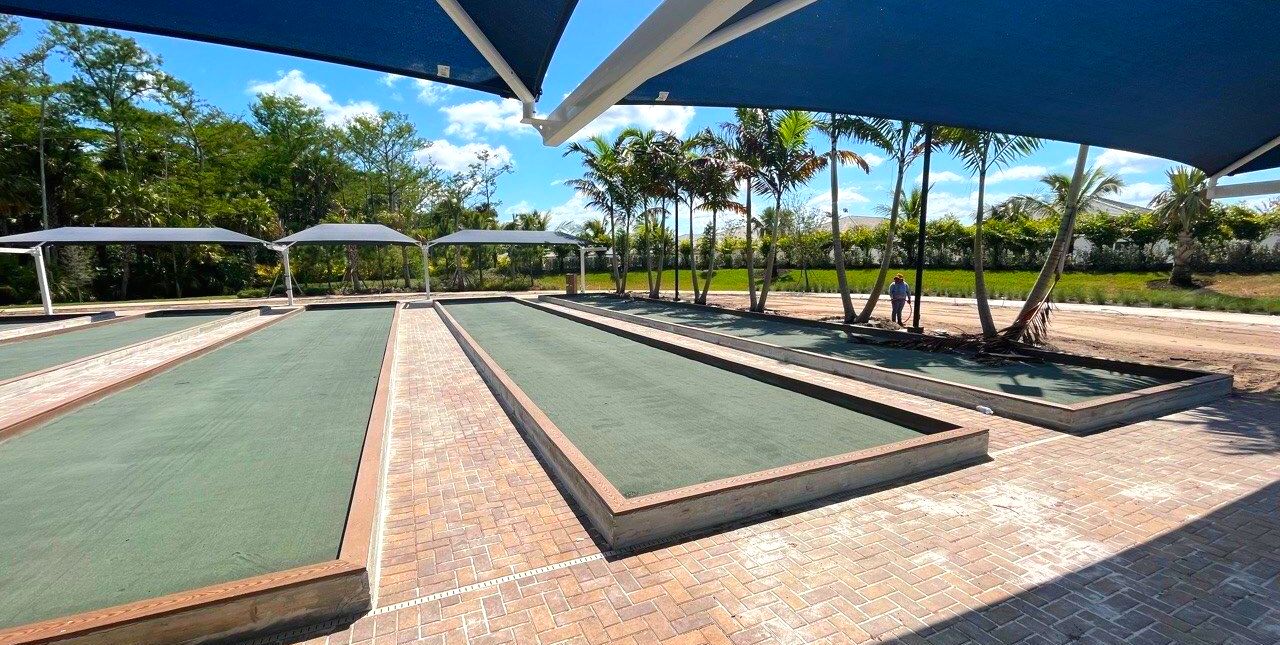
Enhancing your clay court with optional features can improve its functionality and aesthetic appeal. Install energy-efficient LED lighting systems to facilitate nighttime play, ensuring even illumination across the playing surface. Add benches and shaded structures to provide comfort for players and spectators, particularly in sunny or hot climates.
Surrounding the court with landscaping, such as pathways, plants, or grass, creates an inviting environment and improves overall accessibility. These additions elevate the court’s usability and make it a welcoming space for recreational and competitive use.
Conducting Final Quality Checks
Before declaring that the court is ready for use, perform a thorough inspection to ensure everything is in place. These final quality checks are vital to ensuring the court is ready for optimal use and long-term durability.
- Surface Consistency: Test the surface for evenness and consistent ball bounce.
- Drainage Efficiency: Simulate heavy rain conditions to verify that the drainage system functions properly.
- Structural Stability: Check the integrity of fencing, net posts, and optional features to ensure they meet safety standards.
Maintaining Your Clay Tennis Court
A clay tennis court requires consistent maintenance to preserve its playability, safety, and longevity. Proper care ensures that the surface remains even, durable, and free of issues such as cracking or uneven wear. Here’s a detailed guide to daily, weekly, and seasonal maintenance routines:
Daily Maintenance Tips
Daily attention to your court keeps it in top condition and minimizes the risk of long-term issues. These small but consistent efforts ensure that the court remains smooth and enjoyable to play on.
- Sweeping the Court:
- Use a drag mat or specialized tennis court broom to sweep the court after each day of play.
- This process removes debris like leaves, dirt, or small stones and prevents them from embedding into the surface.
- Sweeping also helps maintain an even surface, reducing high and low spots.
- Watering the Surface:
- Watering is essential to maintain the clay’s moisture content, which prevents cracking and ensures the surface remains compact.
- Use a sprinkler system or hose with a fine mist setting to avoid overwatering.
- Water the court more frequently during hot or dry weather to prevent drying out.
Weekly and Monthly Care Routines
In addition to daily upkeep, dedicate time each week and month to more intensive care routines. These tasks help address any wear and tear caused by regular use.
- Weekly Rolling:
- Roll the court using a heavy roller to compact the surface and maintain a consistent texture.
- Rolling prevents loose clay from shifting during play, ensuring players experience uniform bounce and traction.
- Perform this task after watering for best results, as slightly damp clay compacts more effectively.
- Monthly Inspections:
- Inspect the court for common issues such as cracks, erosion, or uneven spots.
- Check for algae or moss growth, especially in shaded areas or regions with high humidity.
- Treat algae and moss with an appropriate cleaning solution to prevent slipperiness and preserve surface integrity.
- Address minor cracks promptly by filling them with fresh clay to prevent them from worsening.
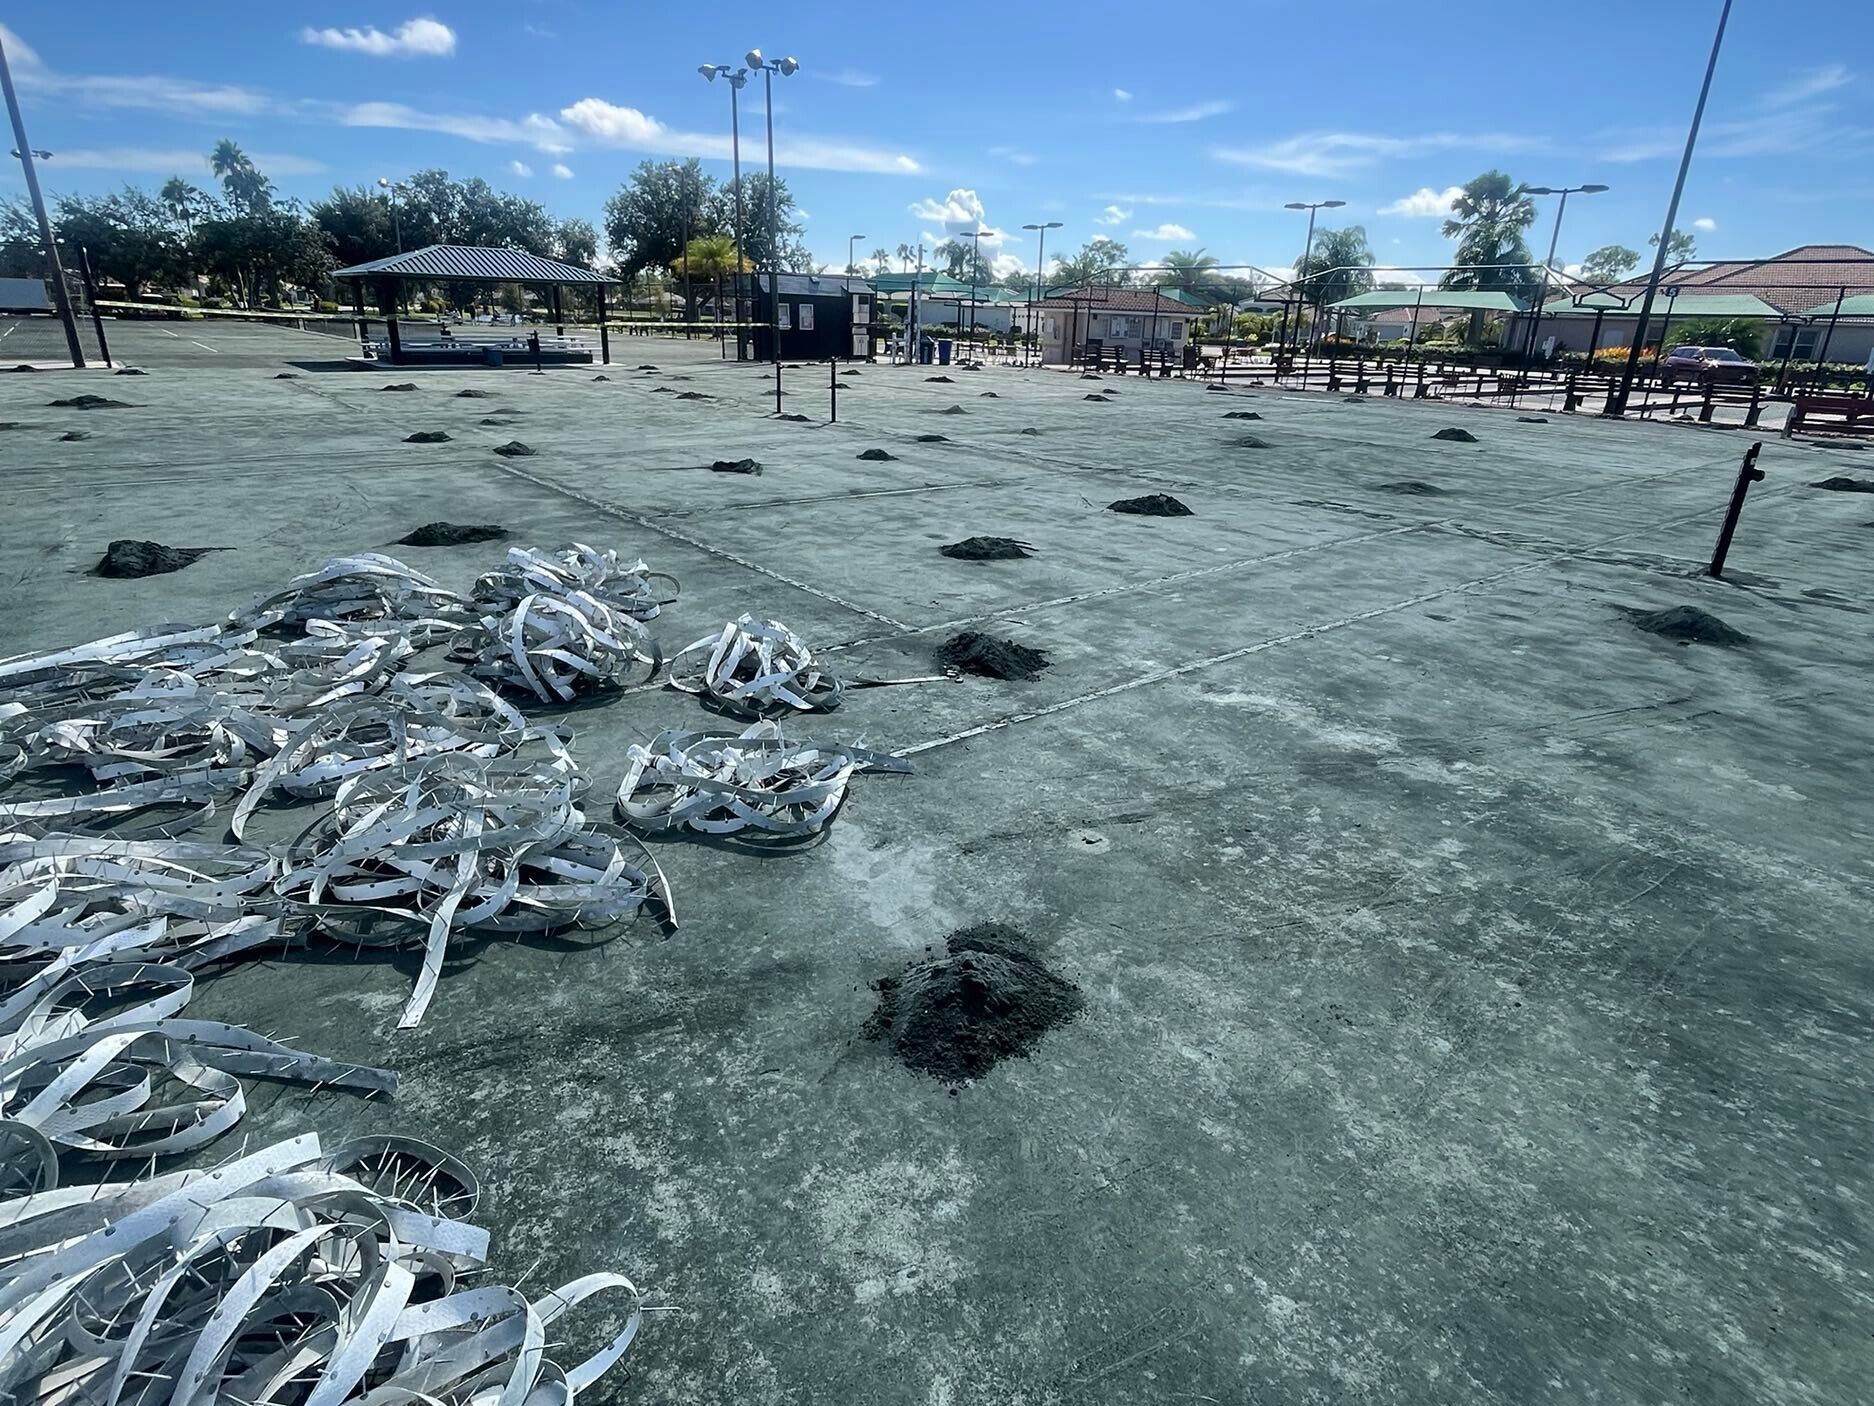
Seasonal Grooming and Repairs
Seasonal maintenance is an opportunity to thoroughly assess and rejuvenate your clay court. This is especially important before and after periods of heavy use.
- Deep Grooming:
- Perform a deep grooming session at the end of the playing season. Use specialized tools to aerate and level the surface, ensuring any compaction caused by prolonged use is corrected.
- Remove old or compacted clay if necessary, and replace it with fresh material for a renewed surface.
- Top-Dressing with Fresh Clay:
- Spread a layer of new clay over the court to fill in low spots and restore the surface.
- Compact the fresh clay with a roller and water it thoroughly to ensure it bonds with the existing layers.
- This step revitalizes the court and ensures consistent playability for the next season.
- Protecting During Off-Seasons:
- If the court will be unused during certain months, cover it with a tarp or protective sheet to shield it from excessive rain, snow, or debris.
- Regularly check the covered court to ensure it remains dry and free from mold or damage.
Challenges and Solutions in Clay Court Construction
Building a clay tennis court comes with challenges like poor drainage, uneven surfaces, and insufficient base compaction, all of which can affect the court’s performance and durability. Poor drainage may lead to water pooling, while uneven surfaces result in inconsistent ball bounce. The court may shift or settle over time if the base isn't compacted properly. Addressing these issues during construction is crucial to ensure a high-quality playing surface.
To prevent these problems, effective solutions such as perimeter drainage channels, a slight surface slope to direct water away, and subsurface drainage pipes in water-prone areas should be incorporated. Using durable materials for the base and clay surface, maintaining the court regularly, and scheduling annual professional inspections are also key to ensuring longevity. These practices not only resolve common construction pitfalls but also help create a reliable and enjoyable court for years to come.
Professional Clay Court Construction Services
Building a clay tennis court is a complex endeavor that requires expertise, precision, and the use of high-quality materials. While DIY construction might appeal to some, creating a professional-grade court involves advanced knowledge of soil conditions, drainage systems, and surface preparation techniques. Hiring experts ensures that every aspect of the project, from site preparation to finishing touches, is handled with precision.
For high-quality clay court construction, consider partnering with experts like Mor Sports Group. They specialize in custom-built tennis courts, ensuring accuracy and durability. From site preparation to final touches, they provide end-to-end services tailored to your needs. With their expertise, you can create a court that meets professional standards while fitting seamlessly into your property.
Conclusion
Constructing a clay tennis court is an investment in fun, fitness, and the love of the game. With the right planning, materials, and maintenance, your court can provide years of enjoyment for players of all levels. Whether building a home court or a professional venue, following this guide will help you achieve a high-quality result. Trusting professionals like Mor Sports Group can ensure your project is completed with precision and care, allowing you to focus on enjoying the game.